
Building and using the coffee table has been great, but there were still times when end tables next to the couch and love seat were needed. Drawers in these end tables would be especially nice to hide away TV remotes and game controllers. With these minimal specifications in mind, I decided to start building a set of two end tables.
Materials and Design
I wanted to match the coffee table I built the previous year, so the wood types I'd be working with were red oak (primary wood) and walnut (secondary). Everything was to be made of red oak save the drawer face and bottom shelf. Unlike most of my projects, I didn't sketch any design. I mainly had it in my brain and only wrote down the dimensions that were important. For example, I wanted the tops to be 18"x18" and for the whole unit to stand about 24" tall. I started milling all the pieces by subtracting from these total dimensions.
The design was to have a drawer in the front with an apron above and below the face, and aprons around each other side. The side aprons were to be extra tall to cover the ugly innards of the drawer sliding to and fro. The bottom would just be one slab of black walnut laid across red oak pieces secured with dovetail lap joints to the legs. The legs would also be slightly tapered from near the top to the bottom.
Build Process
I started by finding some nice straight grained oak and edge jointing them for two tops. Apparently I didn't take any pictures of this process, although it's really nothing special. Next I milled all the pieces for the aprons and legs. For the legs I needed to laminate two 1" thick pieces together because I had no dry 2" stock in red oak.
After milling all the aprons and legs, I cut tenons into the aprons. This construction is all done with mortise and tenon joinery. No hardware holds the frame together. When the tenons were done, I started in on mortises. Cutting out mortises seems to be the longest step, but it's rewarding when you make a perfect fit.


When all the mortise and tenons are complete for the apron, I started working on the lower rails which will hold up the bottom shelf. I used my favorite joint, the dovetail lap joint to secure these rails to the legs. After tapering the legs, I left an extra eighth inch of the dovetail going through the leg for a little extra aesthetic feature. Not sure I like it.

I had to make the drawer next, so I milled up some 5/8" thick oak pieces for the drawer sides. Then cut dovetails around all 4 corners using my bandsaw + hand saw technique. Normally I don't go all out and do dovetails on all four corners. Instead, I usually just do a rabbet joint for the back corners because they're out of sight. Apparently I wanted these end tables to be extra fancy, so I put dovetails all the way around. In doing all 8 of these dovetail joints, I happened to make one that I'd consider perfect... for the first time!
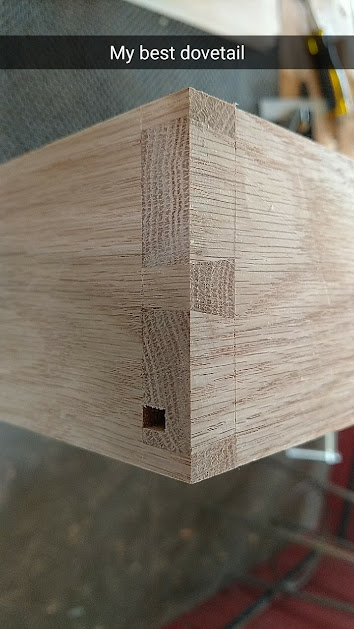
The hole in the tail on the left side comes from the dado cut along each side for holding the bottom panel in. In the front, this gets covered by the drawer face, but if you take the drawer out, you can still see this hole in the back.
Assembly
After all the joinery was cut and drawer was made, it was time to assemble the end tables and permanently affix them with wood glue. The gluing process was pretty straight forward, and I was able to do it without my trusty assistant. After I gave the glue a day to cure, it was time to mount the drawer. I did this with steel full extension drawer slides. After the drawer was in and functioning correctly, I had to put the drawer face on.
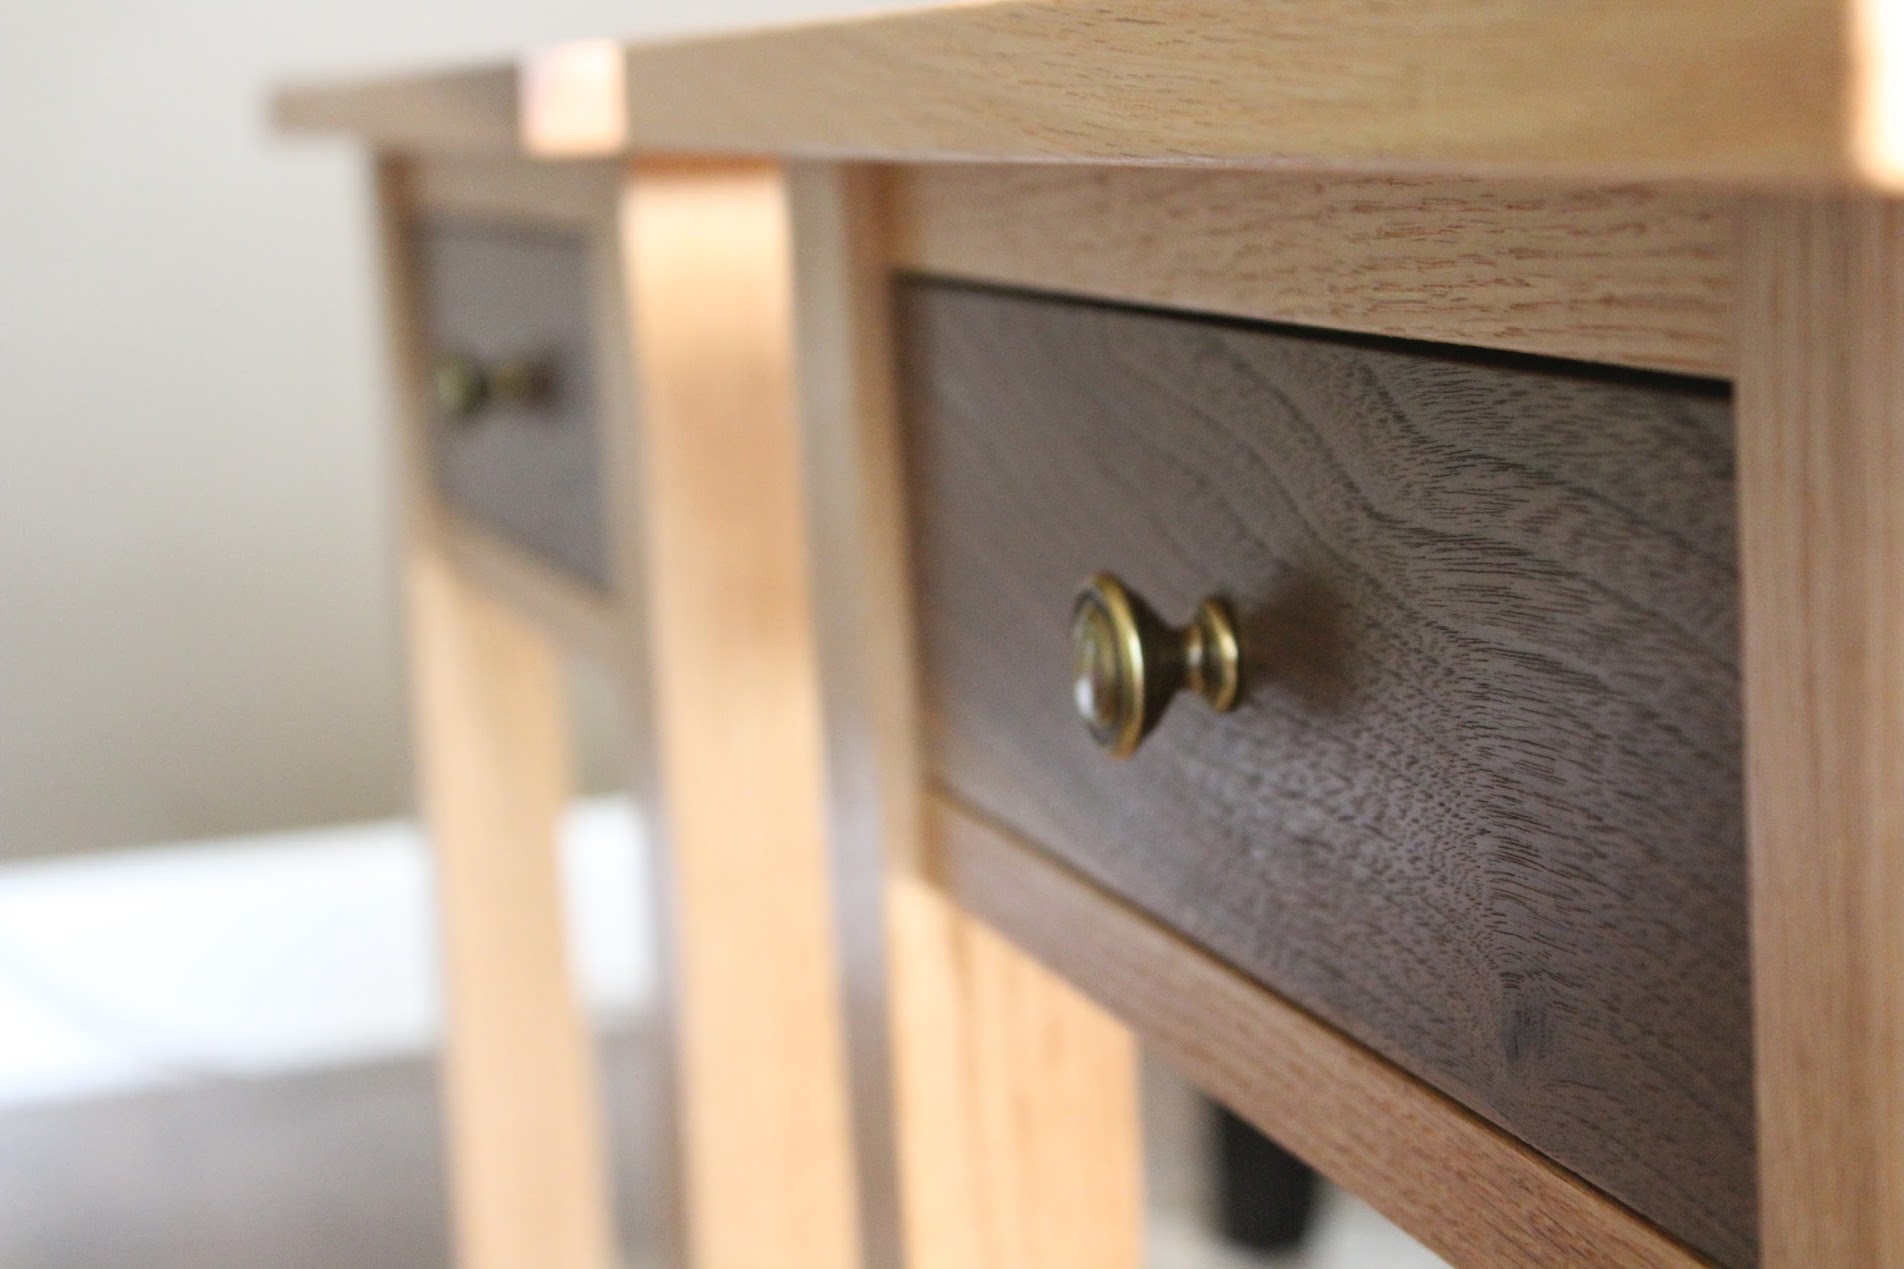
I made the drawer face from black walnut. I found a piece of knot-free walnut and planed it until it was the thickness that made it perfectly flush with the aprons below and above it when the drawer was closed. I cut it 1/8" shorter and narrower than the opening so I could have a 1/16" reveal around each edge. To fix the drawer face to the drawer, I taped 1/16" spacers around the opening, then the drawer face fit snug. Once in place, I used clamps so it wouldn't move, then glued and screwed the drawer face from behind to the drawer.
In this picture below, you can see the thin, sixteenth inch reveal


I attached the top panel in a way that allowed for wood movement. I don't have pictures of that, but I did it in a similar way to another project which I outlined in this video.
The last step was finishing, and I used a satin-finish urethane called Arm-R-Seal from General Finish. I applied the recommended 3 coats everywhere, except the top where I used 5 to make sure it's especially resistant to moisture and abuse. Below is an picture from before applying finish.

After the finish had dried, I added a small knob to the drawer, which seemed to fit well, and they were only $1.36. Total spent for a single end table was $12 for the drawer slide and $1.36 for the knob. Pretty cheap. All of the lumber I had on hand, but even the price of that was pretty cheap. I got the oak for $8/board from an estate sale, and the walnut was free from my dad.
Results
These came together pretty well. Putting that first coat of finish on is very gratifying. My least favorite part is the bottom shelf, I think. I don't like seeing the end grain of the walnut facing me, and the walnut is just attached by screws from underneath which isn't very elegant. My favorite part is definitely the drawers. Enjoy some finished pics!


Now the whole living room set as it is now:


Thanks for reading!